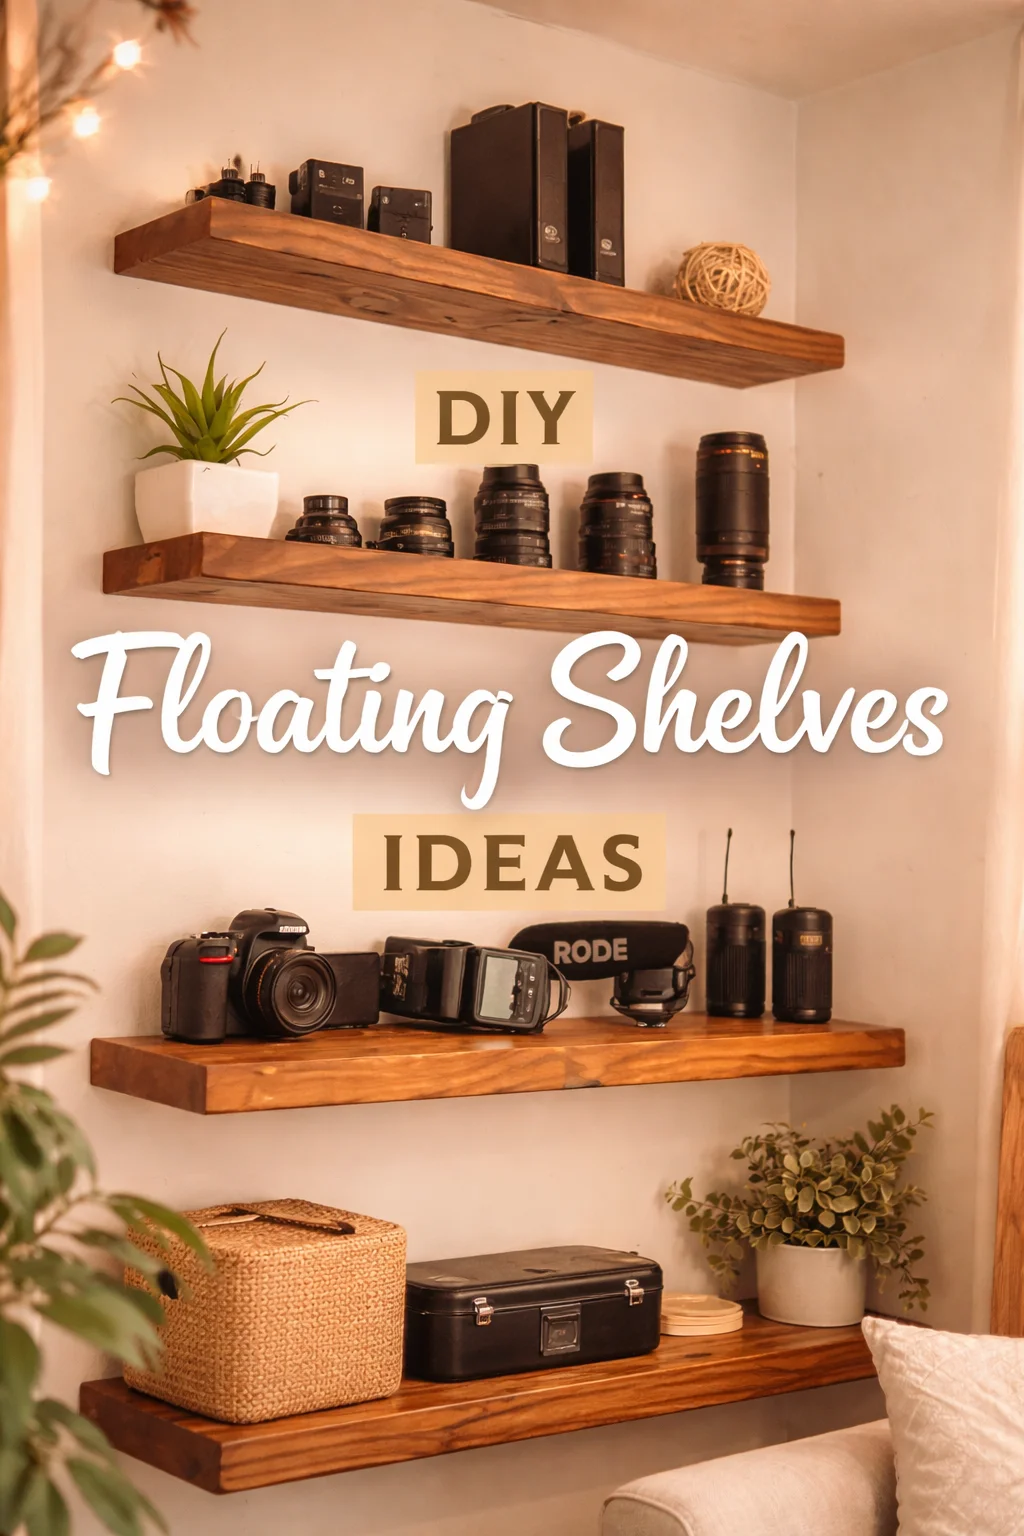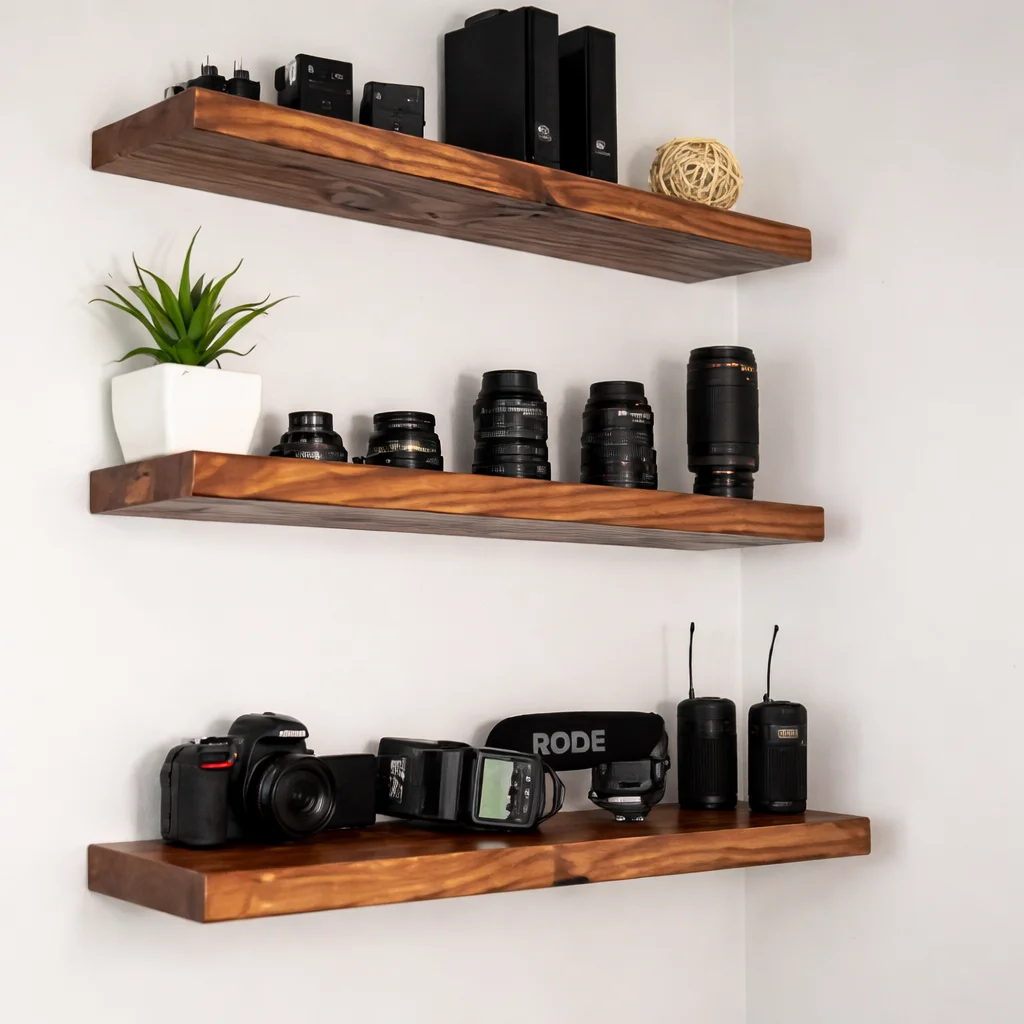
DIY Floating Shelves Ideas are seriously a game-changer when your home’s feeling cramped or just sorta… blah. You know that feeling? Like, “Where am I gonna stick these mugs, plants, and other random treasures?!” I felt that hard. One weekend, after tripping over a pile of cookbooks in my kitchen (yes, again), I realized shelving was the answer—and not the clunky old-school kind. Nope. But a quick browse through guides like practical pantry hacks and genius home solutions had me dreaming up floating shelves for—well, literally every room. They’re honestly easier than you think, more affordable, and way more fun than battling IKEA instructions. If you’re on a mission to up your storage without sacrificing style, let’s talk about it.
Supplies Needed for DIY Floating Shelves
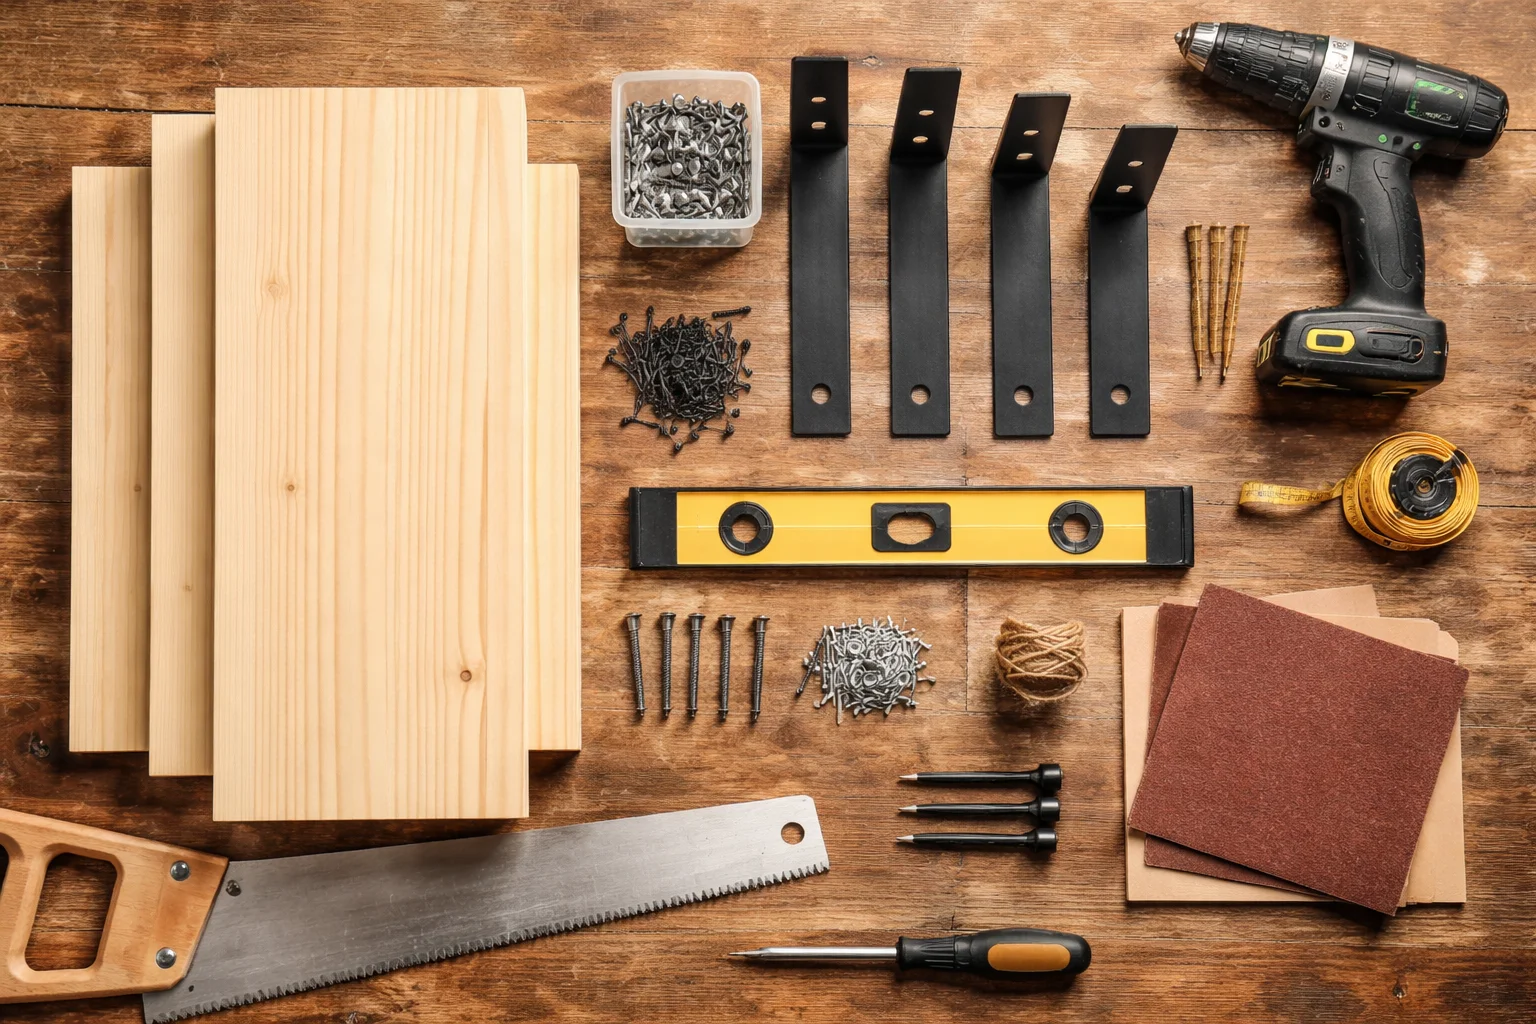
Let’s keep it real—don’t overcomplicate the supply run. (Not that I haven’t panicked in the hardware aisle, but you’ll be fine.)
- Wood planks—usually pine or oak, but if you find a piece of barn wood, grab it. It adds character.
- Wall anchors and brackets—invisible ones are great for the “floating” look.
- Wood glue (the good stuff) and a few reliable screws.
- A little sandpaper—maybe medium and fine grit, if you’re feeling fancy.
- Finish of your choice—stain, paint, clear sealant, whatever vibe you’re going for.
- Optional but fun: corner supports, metal rods, or even leather straps if you want an edgier look.
Someone at the store once saw my armful of boards and said, “You’re braver than I am!” Not sure if they meant it as a compliment, but hey, I took it.
Essential Tools for Building Floating Shelves
Here’s where things usually collect dust in your garage—but dig ‘em out! You really only need:
- Power drill (seriously, don’t try doing this with a hand screwdriver, trust me).
- Measuring tape and a level (eyeballing it will lead you astray, friend).
- Stud finder—unless you, like me, enjoy patching up holes.
- Screwdriver for tightening things up.
- Basic pencil for marking—the magic wand of DIY.
Tip: If you’ve never used a power drill, now’s the time to FaceTime a handy friend or check YouTube. It’s easier than a hand mixer, I promise.
“The hardest part was actually just drilling into the wall the first time. Feels wild! But once you get the hang of your tools, you’ll be surprised at how legit your shelves look!” — Jenna from Des Moines
Step-by-Step Guide to Locating Wall Studs
Okay, this is where the magic—and sometimes the frustration—happens. If you skip this, your shelf WILL fall. Trust me.
- Run your stud finder horizontally, slow and steady, till it beeps. That beep is your happy sound.
- Pencil in light marks (draw a donut, a star, something cheerful).
- Double check every spot (sometimes the finder lies!). Go over it twice if you have to.
- Try a little “knock test”—studs sound solid, hollow spots sound, well, hollow.
Seriously, there’s no shame in calling in backup on this step. My first shelf? Waaay off—so much patchwork.
Instructions for Attaching Shelving Supports {video_youtube}
Showtime! This is the only “scary” part, but breathe easy—you’ve got this.
- Drill pilot holes where you made your stud marks.
- Screw in your floating brackets tight. Give them a wiggle test.
- Set your shelf on top, mark where the screws will go for extra stability.
- Attach the shelf (follow the bracket or anchor instructions exactly—sometimes they’re quirky).
Don’t over-tighten—or under-tighten. (I’ve done both. Both are equally annoying.)
Tips for Finishing and Staining Floating Shelves
Ah, here’s the creative bit! Whatever look you want, just keep a few things in mind:
- Sand down rough edges—no one wants a splinter, least of all me.
- Use a pre-stain conditioner if your wood’s real absorbent (especially soft pine).
- Less is more with stain—it’s like salt in a recipe. Start slow.
- Finish with a clear sealant or wax for durability (spills happen!).
- Let it dry longer than seems reasonable. Yes, even if you’re excited.
Oh—do these outside or somewhere you don’t mind stinking up. My kitchen smelled like a workshop for days. Worth it though.
Common Questions
Will these floating shelves hold heavy items like cast iron skillets?
As long as you hit the wall studs and use sturdy brackets, absolutely. I keep my Dutch oven up there, no problem.
Can I do all this without lots of fancy tools?
Yep! Just a drill, screwdriver, and measuring tape needed. But honestly, borrow a power drill if you can.
What kind of wood is best for kitchen or bathroom shelves?
Go for something sturdy like oak or maple—don’t risk particleboard in humid spots. Pine’s fine for light stuff.
How do you make them look extra cool?
Mix in some oddball hardware (like brass brackets or leather), or try painting the edges a bold color—saw a great idea on this modern decor blog.
Can you hang these on tile or concrete walls?
You can, but you’ll need anchors specifically for those materials. Watch out—different drill bits needed!
Try These Out—You’ll Be Shocked!
There you go—DIY floating shelves that actually work and look dang cool in every room. Just get the basics down, measure twice (or three times if your dog is distracting you), and personalize the heck out of them. Honestly, making your own storage feels kind of legendary—way better than most store-bought stuff. If you want more inspiration, check out guides like these clever storage hacks and organization tips—there’s a ton of wild ideas out there. Roll up your sleeves. You’ll be showing off those shelves (and your style) in no time!